Tool Tips
Background
More than a few woodturners will insist that their tools of choice (or the one's they are selling) are the finest available. Perhaps. Tools are necessary for woodworking of course, but I place more emphasis on turning skills like sharpening, properly holding a tool, body position and movement, form and design. For a master of these skills, the actual tool used to achieve the end result is of secondary importance. My advice to any new or inexperienced turner is to master fundamental skills before investing a lot of money in every tool and accessory available. Admittedly, when I began turning in earnest, I hastily bought a lot of tools - tools that I never used again after taking David Ellsworth's class. His philosophy, coupled with a LOT of practice on my part, greatly improved my turning skills, which in turn led me to wonder whether I really needed a whole bunch of expensive tools (having watched David use allen wrenches for hollowing). The process also changed my views about tools, specifically that expensive doesn't mean better. David of course, was selling his bowl gouge which I love and use extensively. But what really intrigued me were his hollowing tips and bars. When the economic recession hit in 2007/8, and I began turning smaller, I began experimenting with making tools myself.
Hollowing Tools
A good place to start is learning to make your own tools. Experiment with different tools and tool accessories - before buying if possible - to see what works best for you. After sufficient practice and experience, either buy the best quality tools you can afford or make your own. As the old adage goes "you can buy it once, or you can buy it again." For turnings under about 5-6" diameter, I find my homemade tools (a small sampling shown below) more than adequate. After using a propane or MAPP gas torch (propane does not burn hot enough to heat/bend 1/4" steel round stock easily) to bend HSS or drill rod to my desired shape, I send blanks off for heat treatment. Not having them heat treated will result in brittle fracture at some point - likely sooner rather than later. In my first experiment making miniature and small hollowing tools, I sent 100+ tool blanks in a USPS Small Flat Rate Box to Progressive Heat Treatment in Southern VA. I received them back roughly a week later ready to insert into a tool handle. Total cost was ~ $175. A very reasonable investment I think.
Bowl Gouges
As mentioned above, I like and use both sizes of David Ellsworth's Pro-PM bowl gouges extensively. They hold a great edge and are easy to sharpen or repair the bevel if you practice sufficiently and understand the process. I have adapted what I long ago learned in David's class to use his gouges for everything from miniature hollow forms to wallhangings, especially to take shear cuts on the wings of winged bowls and the outer edges of irregular shaped natural edge wallhangings, minimizing tear out and, in turn, sanding. A fortunate recipient of a pair of his tools, I also really JoHannes Michelsen's HannesTool gouges and ergonomic handles.
Fingernail Gouges
I use mostly Crown Pro-PM 1/4" or 3/8" fingernail gouges for shaping hollow forms, turning beads and getting sharply defined corners and edges on winged bowls and hollow forms, minimizing tear out. I also use several miniature fingernail gouges in 1/8", 3/16" and 1/4" for spindle work, turning finials and hollowing.
Sharpening
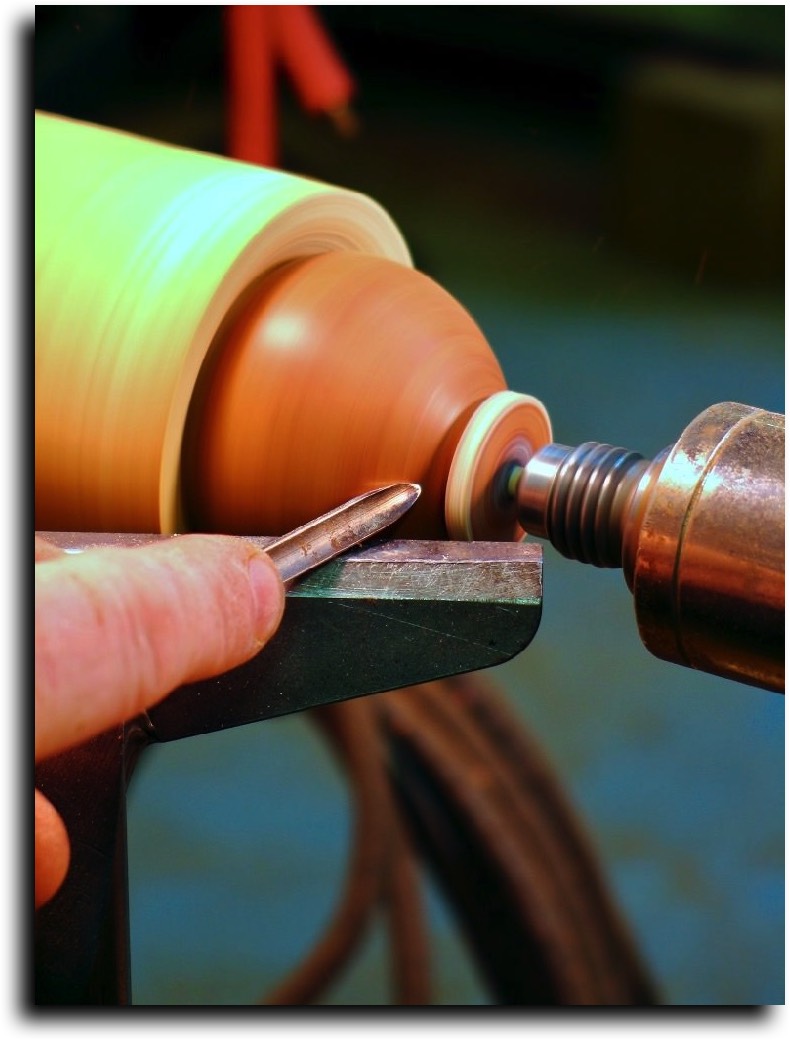
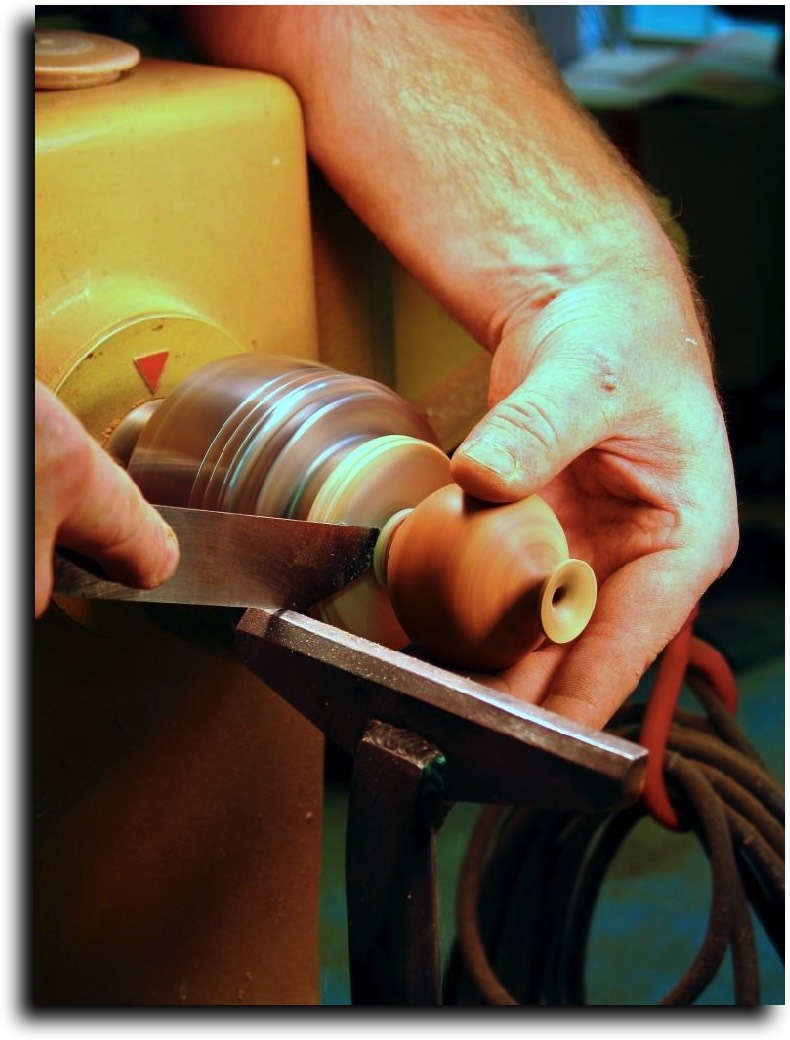
In the years I've been turning, I've observed many people who were inhibited by sharpening their tools, waiting far too long to sharpen a tool with a needlessly dull edge. As my father has always said to me, "the skill to do comes of doing." Stated another way, sharpening, like anything else, is an acquired skill. Practice as much as you can. It'll be worth the effort when you see your turning improve. Below are two sharpening related tools I have found invaluable. I use the 1" belt sander to polish the back of fingernail gouges, specifically for use in shaping small hollow forms and turning finials. Polished with a 400 grit belt after sharpening, I use the smooth back of the gouge to burnish at high speed (in lieu of sanding) a finial like the African Blackwood finial below with sapwood in the top portion. Not sanding (to avoid heartwood dust from filling the sapwood pores - which I find unappealing) that portion obviously necessitates turning very cleanly to achieve the form I desire with no visible tool marks.


